
Story
Sometimes we wish we could have a sopranino recorder at low pitch for ourself, for an ensemble, or for students. Of course this model will not replace a professionnal hand made instrument, but that could definitely be a good low cost alternative.
I have been making 3D models for years now, of historical early music woodwinds. Sometimes I ordered prints via professional 3D printing services, but that was expensive and I only ordered some half sized longitudinally cut-out models to show how an instrument worked. Recently 3D printers became affortable, and I though that could be a good idea to develop a 3D model that anyone would be able to print at home or in a fab lab. The problem with recorders is that the canal and the labium must be done with a very high precision, higher than what a printer can do. Of course you can use files and sandpapers as with wood, but that requires a lot of experience, and the aim was that anyone could make one. So I choose not to print the head, but only a 415Hz body for an existing sopranino recorder.
Material
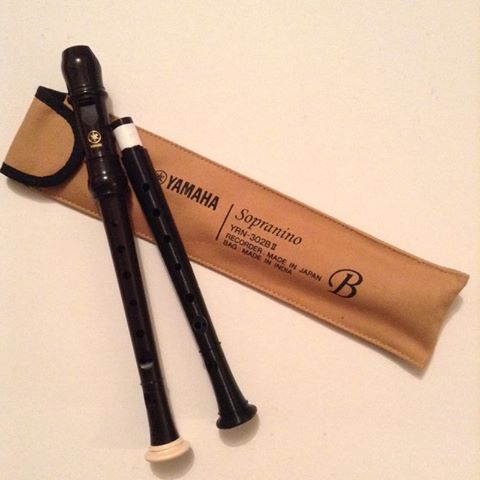
- Yamaha sopranino recorder, model YRN-302BII. Also works with the older YRN-302B.
- 3D printer. Well, don’t buy one only to print that. There are more and more fab labs or makerspaces in a lot of cities where you will find a 3D printer, or you may have friends or colleagues that own one. Mine is an Anycubic i3 Mega, a cheap home printer. I designed this model especially for FDM printers (printers that work with filaments, the most common type of home printers). Those printers tend to print internal diameters slightly thinner than expected, and I adjusted the dimensions by taking this into account. So if you use an other technology (for example SLS, the most common type if you order one via a professional 3D printing service), the bore will be thicker than expected, and I’m not sure you will have a good tuning. I didn’t try.
I’m using a standard 0.4mm nozzle (the most common size). - PLA filament. About 25-30g or 9 meters. I didn’t tested ABS or PETG but that should work well too. I’m not using an expensive filament… I’m still using the spool provided with the printer.
- Plumber tape, to adjust the tenon to the head joint.
- Time and patience.
Settings
I use Cura as slicer, but you can use an other one.
- Layers : 0.1mm or thinner – That’s a critical setting! 0.2mm will work too, but low notes will have a less rounder sound and be quieter.
- Speed : the slower, the better. 50mm/s is fine. I you have time, you can consider printing at a slower speed. In all cases, avoid speeds over 75mm/s
- Infill : 30%
- Shell thickness and bottom/top thickness : 1.6mm – That’s also a critical setting. Don’t use thickness under 1.2mm
- Z-seams aligned. Just my personnal aesthetic preference.
- Temperature : depend of the filament you are using. With my PLA I use a printing temperature of 200°C and a bed temperature of 60°C
- No support, no brim, and no raft.
- Print vertically! The foot at the bottom. This is the last critical setting.
Post process
- Remove strings or hairs in the holes or in the bore if there are some.
- Wrap some plumber tape around the tenon to fit the head joint.
- You’re done!
This model has been designed so that the inner bore doesn’t have to be polished. Don’t do that!
If you want you can polish the external shape with 500grit wet and dry sandpaper, or use a PU spray varnish. That’s really optional. If you choose to sand it, be very careful not to damage the holes, and not to reduce the wall thickness around the holes.
Tuning
If everything was fine, your recorder should be in tune without any tuning, but for some reasons you may have to tune a note.
Philippe Bolton made a very good tutorial for that… go on his website and have a look to his beautiful recorders. Note : with plastic you can use glue instead of wax.